


About 18 months ago we announced that Talos Linux was officially supported by the good people at Equinix Metal. This involved us working with Equinix Metal to give them every new release of Talos Linux so they could deploy it in their provisioning system.
We’ve recently worked with Equinix to drop support for Talos Linux – and this is better for everyone! Sidero Labs now has the Image Factory which generates customized Talos Linux images. Need Talos Linux with the gvisor extension? With DRDB kernel modules built in? The Image Factory lets you specify whatever extensions you need, signs everything securely, and creates the image for you. It will also ensure your upgrades are correct and include the same set of extensions.
Because Equinix Metal lets you iPXE boot your servers to install an Operating System, and the Image Factory can deliver your specified Talos Linux image directly over iPXE – this is now the preferred way to provision Equinix Metal servers with Talos Linux.
The guide for Talos Linux on Equinix Metal reflects using the Image Factory to install, but I’m going to walk through an even simpler (and cooler) example of using Omni, our SaaS for Kubernetes management. Tl;dr – PXE boot Equinix Servers; click in Omni to create a cluster, and you are done.
From your Omni account (don’t have one? Sign up for a free trial – the home user plan is only $10 per month after the trial) click Download Installation Media, and select “Generic image (amd64)”. (You should really select “Equinix Metal (amd64)”, but that isn’t in the Omni UI right now – hopefully it will be in a week! – but we will work around that.) You can select any extensions you want, but none are required. Click the “Click to Generate” button to get the PXE URL, and change the last part from “metal-amd64” to “equinixMetal-amd64” (so it looks like https://pxe.factory.talos.dev/pxe/cde2dff28b6695842af6b4ffffffff993ac85cc2c8fef9e71cbaa82639f17175/1.7.4/equinixMetal-amd64) and copy this URL.
Note that using the Generic Image will work correctly – but using the Equinix Metal specific image will automatically configure the network to use a bonded interface, and add Equinix specific tags (such as the datacenter region and zone, etc).
Over in the Equinix Metal console, click New Server, On Demand, choose your metro and server size, then under “Choose your Operating System”, select custom_ipxe, and enter the URL from Omni.

Select the number of servers to create (you want 3 for the control plane, if you want an HA cluster, plus separate worker nodes – but for a test, you can run a single control plane, and even schedule workloads on that one node, if you like) and name them.
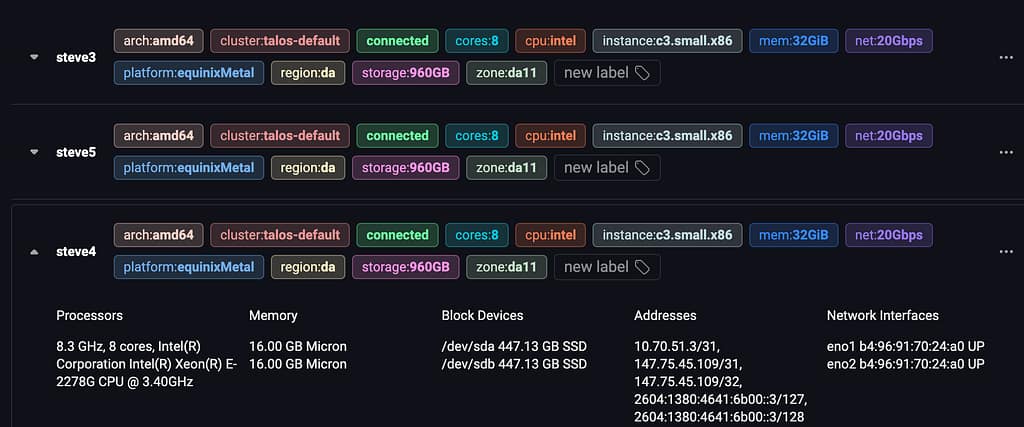
Select “Deploy Now”, and you are done. The machines will boot, and within a few minutes they will show up as unallocated machines within Omni:
Now it is a simple matter to create a cluster with them:
- click the “Clusters” page in the left hand navigation
- click the Create Cluster button on the right
- click “CP” next to one or three of the machines, to designate the control plane nodes, and optionally
- click “W0” next to one or more machines, to designate them workers.
- then scroll to the bottom and click “Create Cluster”
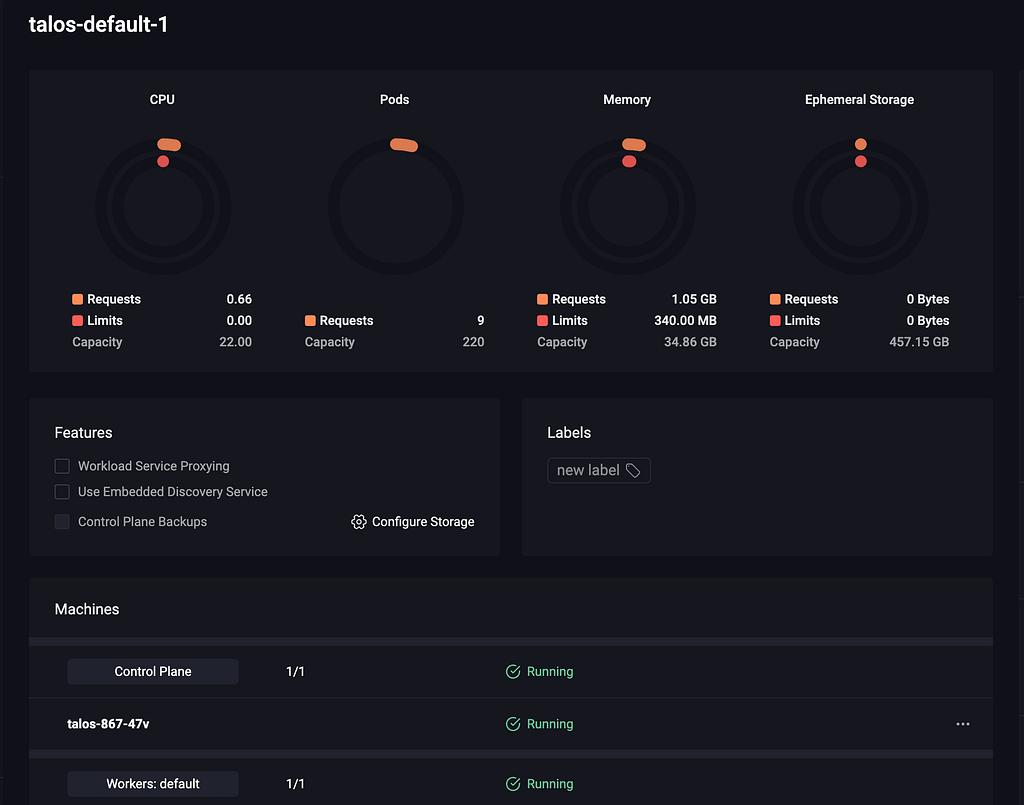
That’s it! You will be taken to the cluster overview page, and you can watch the progress as Omni instructs the machines to form a cluster, initialize etcd, distribute certificates, and Omni will create a highly-available endpoint for the Kubernetes API. You access your cluster by clicking “Download Kubeconfig”, and then using kubectl as normal. (You do need the OIDC-login plugin for kubectl – Omni unifies all access through your enterprise IDP or Omni user accounts, including Kubernetes access. No more having to rebuild a cluster if an admin kubeconfig escapes!)
You can also play around with more advanced Omni features, such as using Machine Sets to automatically scale your cluster up and down with machines that match selection criteria, or using cluster templates, which allow you to completely create and manage clusters declaratively, for true GitOps style Kubernetes management all the way to cluster creation.
If you have any questions, let us know in Slack!